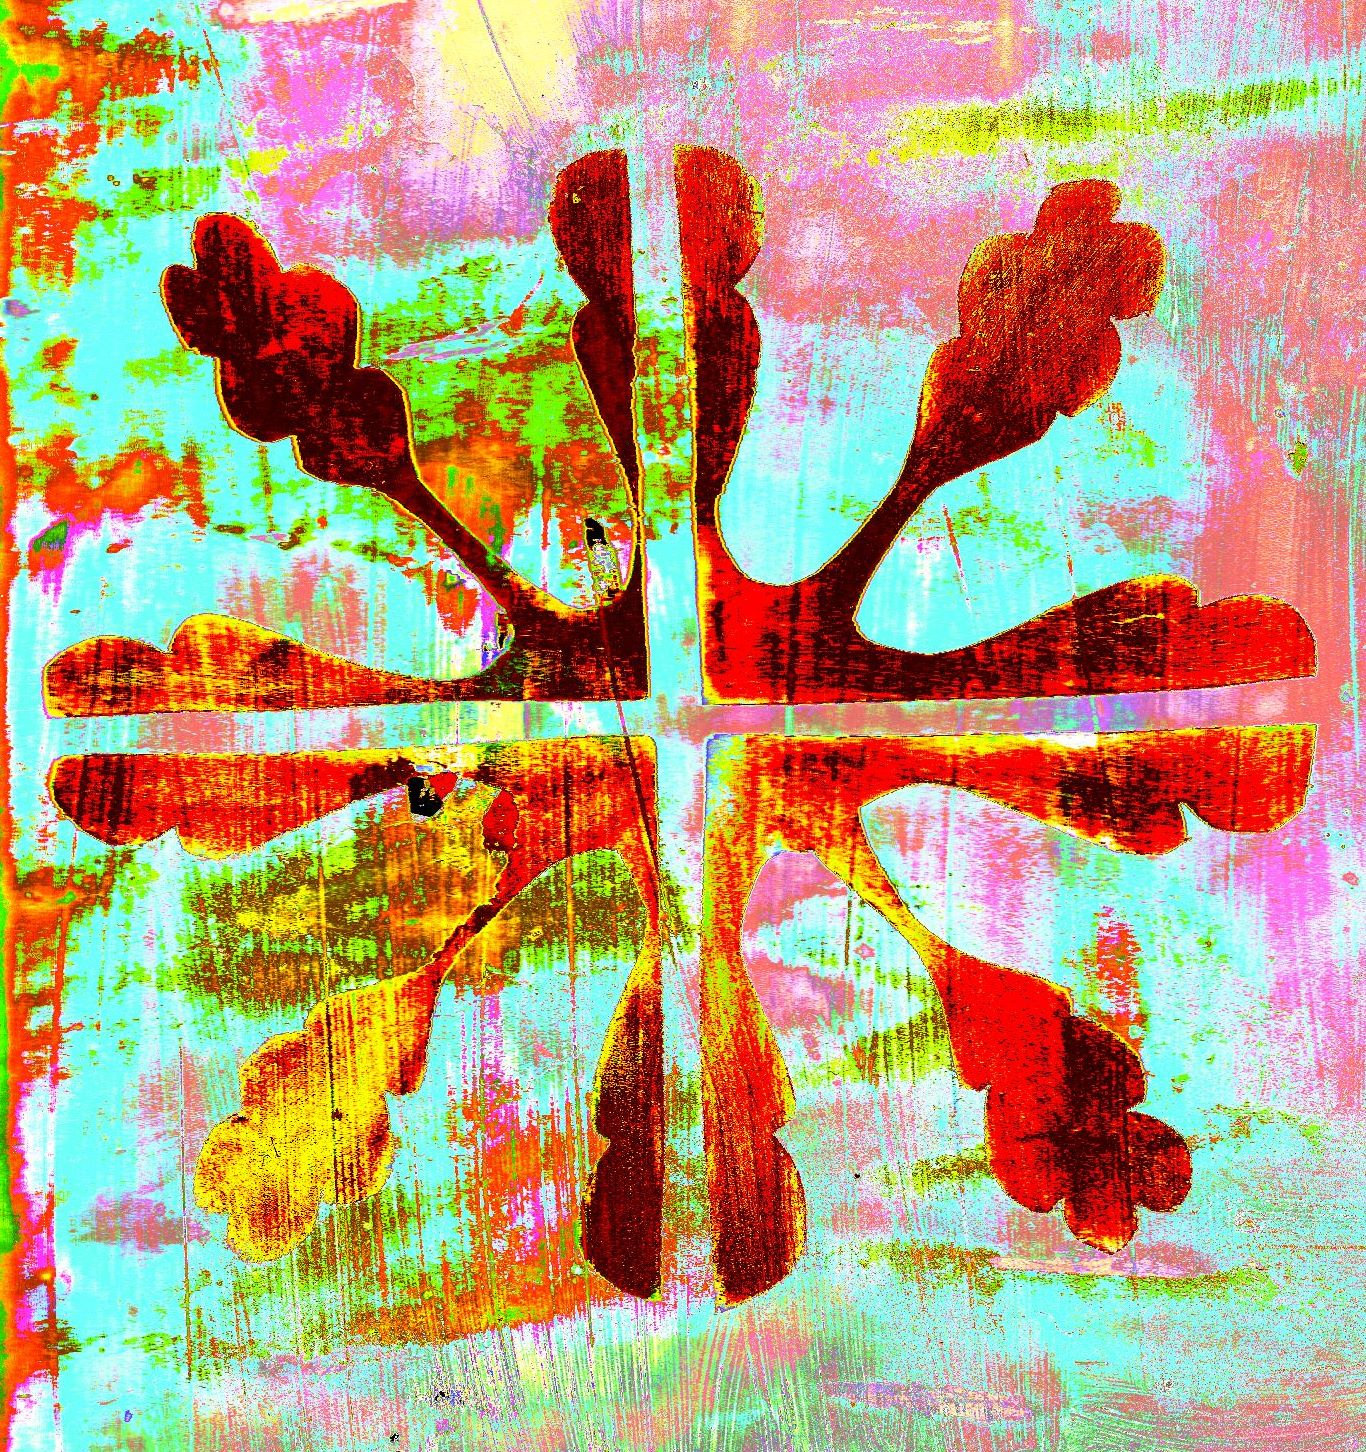
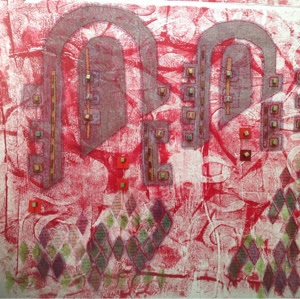
So I have made a start on the first two little quilts.
First of all I did some backgrounds.

If you have popped by before then you will know that I love working with tissue paper mounted onto lightweight cotton, in this case calico.
I use recycled tissue paper and keep any I can find. So I have no idea where this came from. But it was a big sheet so probably from some packaging.
I lay the tissue onto the fabric and then I usually bond them by using a 50:50 mix of PVA and water - poured on and then worked in with a brush. The tissue can get wet and tear, but no worries for this is about achieving a texture. (If you try this you don't have to be too accurate with the PVA water mix - I just use my eye. On it's own the PVA is too thick to really soak into the tissue and the paper).

If you do this, then make sure you protect the surface. Here I used a thin polythene sheet over the kitchen work surface as I don't have the luxury of a wet studio (you can just about make it out on the right hand side of the photo above).
I used a cheap and fairly loose weave calico. It may have come from IKEA - frankly I just get hold of it when ever I see some that I think is a good price.

Then I used Brusho powder to achieve the colour - in this case purple (to get me out of my comfort zone) and black. (I used to use Procion dye for this technique, but find that the Brusho dissolves much better.)
I sprinkle it over the fabric using an old tea strainer.

And this time I used an old store card to spread the ink over the PVA/water mix, and to help the tissue bond to the fabric. I usually let the water do the work on it's own, but am rather pleased with the results here.
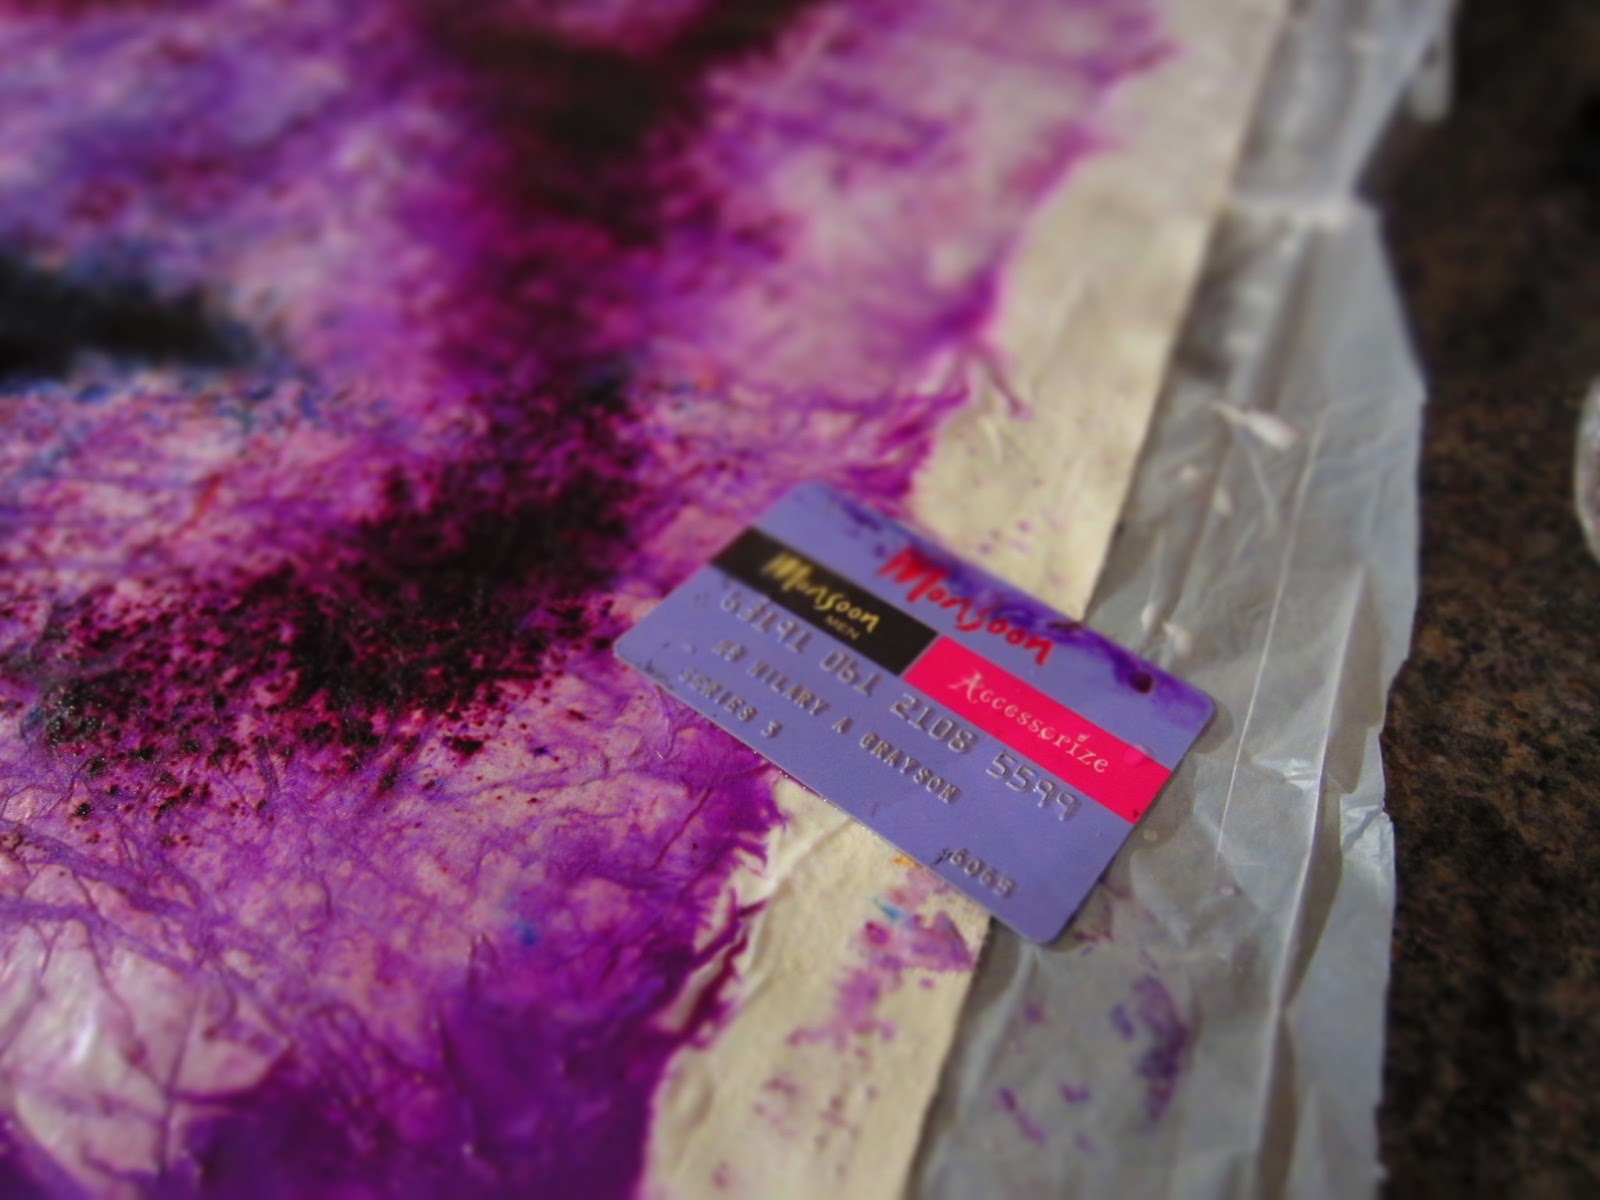

I left this to dry overnight. The finished paper has a stiffness to it (which is why I need the beast for larger pieces) but still feels like fabric, rather than paper, to me.


This looks such fun - I'd love to try it!
ReplyDeleteWould tea bag paper work??
Gill - that's a good question and I don't know the answer because, although I have heard of tea bag paper, I am not familiar with it. If it has a similar feel to tissue paper then I cannot see why not. The tissue gives the lovely crinkly finish which gives texture to an otherwise flat surface.
DeleteGorgeous colours, what an intriguing technique.
ReplyDeleteIt is rather fun - I use it a lot to create textured surfaces.
Delete